
I miss some things of my recent past – the one before COVID to be clear – more than others. Mainly those small things that populated my daily life without making noise.
For example, I miss going shopping in my favorite little shops down the street (I haven’t been out for 48 days now but to throw the garbage). I miss buying what I like most from the greengrocer at the precise moment when I cross the threshold of the shop; I miss looking at the fish counter and peeking if there is something that inspires me. I miss having coffee in my small, narrow, old fashion bar and with the few tables always occupied by the same four old men. I miss queuing at the bakery, inebriated by the scent coming from the arrear, always uncertain till the very last moment on the kind of bread to take home with the inevitable four slices of focaccia.
Focaccia…. in the last period I discovered how I miss my Ligurian focaccia! It seems an advertisement, but really, every day at home “fresh” oven-baked focaccia was never missing. Actually, Elena grew up almost exclusively with focaccia. She ate the one left by her brother for breakfast, the one that the baker disloyally used to hand over to her as soon as we crossed the threshold of the bakery (thus irreparably compromising lunch), and the one she used to steal from the kitchen table at apéritif time, in spite of the evening soup. But I wasn’t kidding either: a slice of focaccia, at least, never reached home. The leftover after dinner meals was often an honest night snack, just before bedtime. In short, we missed greasy finger stains on our clothes.

So I started baking Ligurian focaccia at least once a week.
I started with the “quick” recipe, the one you prepare straightforward in about four hours with the so-called “direct method”. You can find it in my post “Genoese Focaccia, the perfect recipe”
However, having some time available, you know, I also tried the recipe that Genoese bakers use, the one that involves preparing the sponge the previous evening, the so-called “indirect method”. The sponge is basically a pre-dough made of water, flour and a little yeast, which improves the final product by giving perfume, flavor and digestibility.
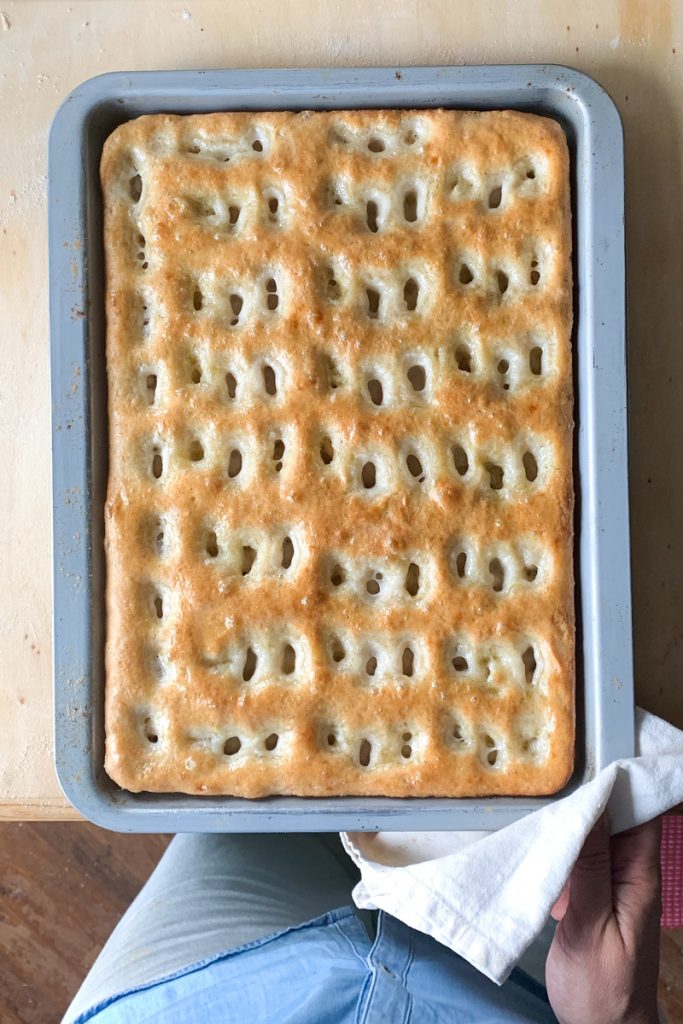
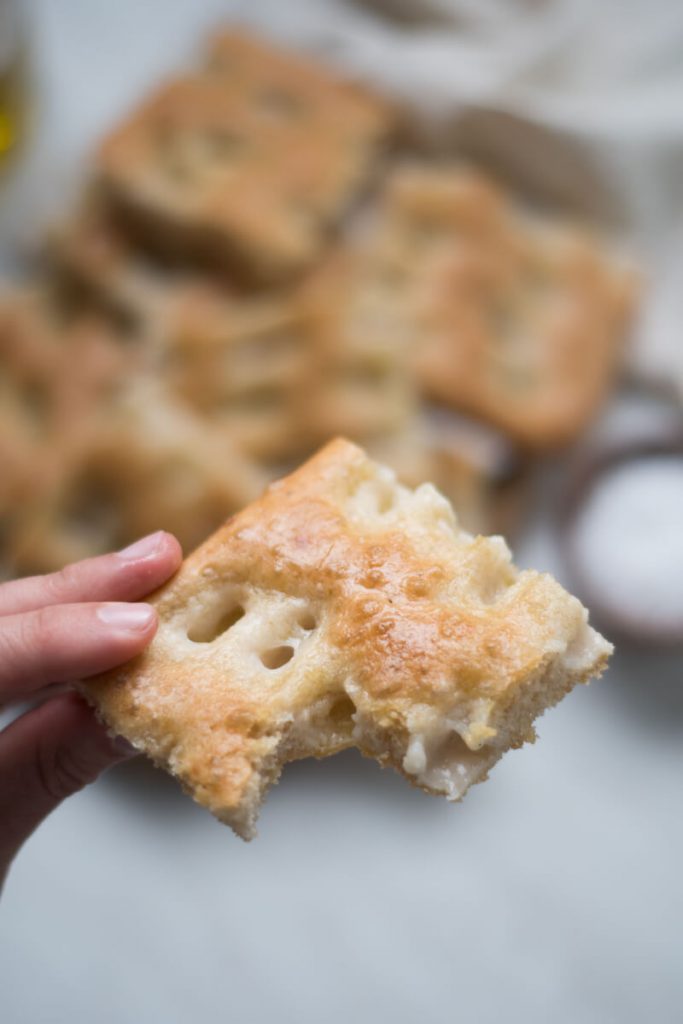
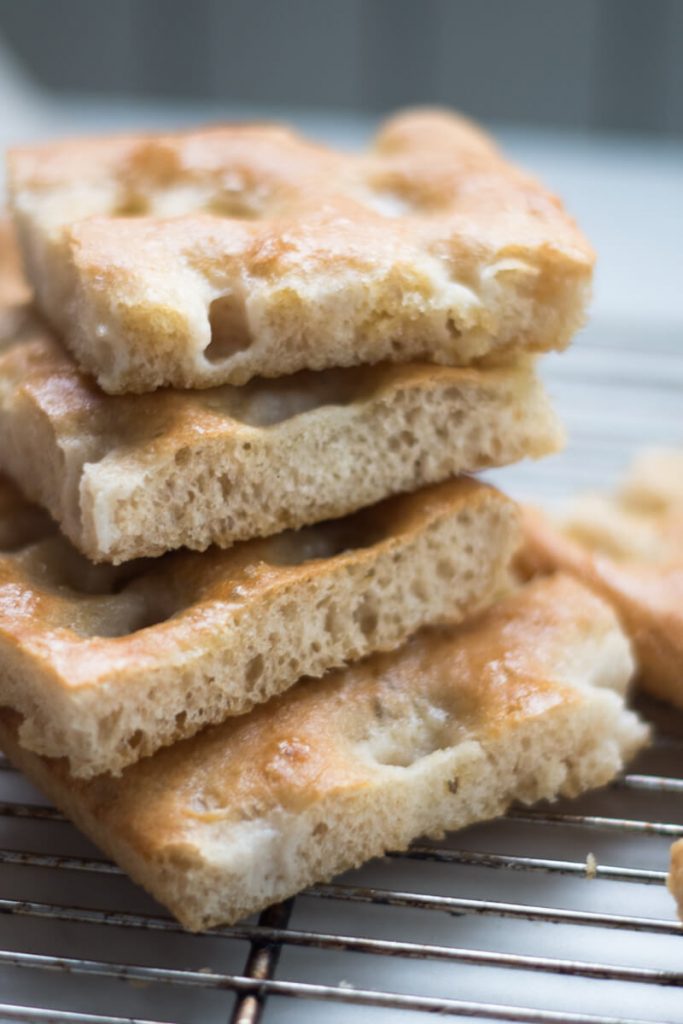
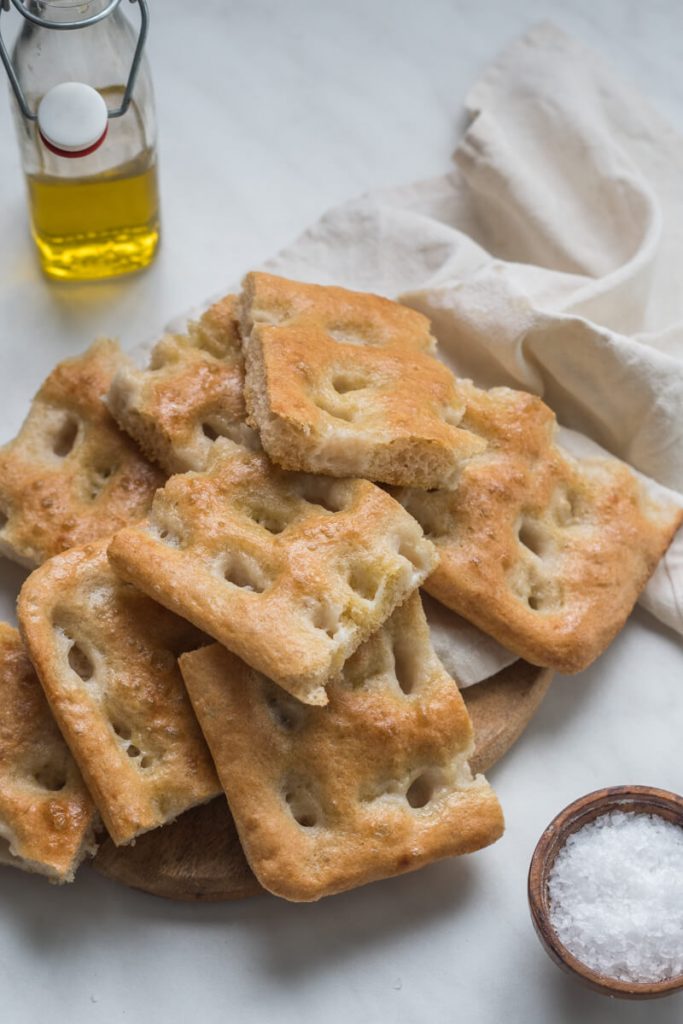
The result is magnificent. The focaccia is fragrant, crunchy on the outside, soft on the inside. It is just as described in the specification of the Genoese Bakers:
“Once baked, the focaccia will have a hazelnut-colored crust, ivory-white in the holes.
In the lower part it must be rightly greasy, white and golden. It must be two centimeters high on average. The irregular and deep eye with traces of oil. In the upper part there may be some glitter of salt.
The perfume must be fairly intense, with a slight persistence, not having sweet sensations, but slightly bitter aromatic nuances because of extra virgin olive oil. On the palate it is soft, balanced in basic flavors (acid, sweet, salty), never chewy, but crunchy on the surface. A slight bitter sensation, because of the oil, may be slightly perceptible. The feeling of greasiness is clear “.
The doses you find in the recipe are for two 30×40 cm trays (the size of the trays is important because the focaccia must be about 2 cm thick).
The focaccia is excellent, fresh from the oven and lasts from morning to evening. But not further, because the focaccia is ephemeral. So you can freeze the focaccia you think (or hope) not to eat right away. You will need just a few minutes in the hot oven, and it will be fresh again.
So whether it is morning, afternoon, apéritif time or late at night your focaccia will always be within reach!
Here also the VIDEO RECIPE OF FOCACCIA I have published on my IGTV channel!
If you are curious about the origin of the Ligurian focaccia, I refer you to my previous post “Genoese Focaccia, the perfect recipe“, where you will also find a list of the best places where buy the focaccia in Genoa, for when we will be able to move freely and safely again …

Ingredients
- Dose for 2 sheet pans 13×10 inch (30×40 cm) or one sheet pan 18×13 inch (40 x 60 cm)
For the sponge
- 130 g (1 cup) of all-purpose flour
- 60 g (1/4 cup) of lukewarm water
- 0,6 g (1/4 teaspoon) active dry yeast
For the dough
- The sponge
- 500 g (3 ¾ cups + 1 tablespoon) all-purpose flour
- 310 g (1 1/4 cups + 1 tablespoon) of water
- 9 g (1 ½ teaspoon) of salt
- 12 g (1 tablespoon) of sugar
- 6 g (2 ¼ teaspoons) of active dry yeast
- 30 g (2 1/2 tablespoons) of extra virgin olive oil
- 50 g (¼ cup) of extra virgin olive oil to spread on the surface of the focaccia
For the pans
- 2, 13×9 inch cookie sheets or alternatively 1, 18×13 inch sheet pan.
- 50 g (¼ cup) of extra virgin olive oil to grease the trays
For the brine
- 200 ml (1 cup) of salted water
- 11 g (1 ¾ teaspoon) of salt
To finish
- 4 tablespoons of extra-virgin olive oil to brush on the focaccia once baked
Instructions
For the sponge
- The night before, prepare the sponge by briefly mixing all the ingredients (flour, water and yeast) in a bowl until you get a homogeneous mixture. Let it sit at room temperature covered with plastic wrap for 12-14 hours.
For the dough
- The next day, dissolve the yeast in the water ((keeping aside 1 tablespoon of water that you will add later) then pour the sponge, flour, salt, sugar and water+yeast into a large bowl and knead with your hands for a few minutes.
- Then add the oil. Continue kneading for a few minutes. When the oil is incorporated, add the water left aside and continue kneading until the dough comes together.
- Then transfer the dough to the well-floured working surface and knead energetically (even “tearing” the dough and beating it firmly on the surface) for 10 minutes: in this way the gluten net develops which makes the dough elastic and improves the alveolation in the rising phase.
- The dough is perfect when pulling it by a flap it is very elastic and difficult to tear.
- If you use two pans divide the dough immediately into two equal parts, stretch them slightly to give a rectangular shape and fold into thirds (imagine that the dough is divided into three equal parts, fold the rightmost part on the central one and then the left one on the central one, like a wallet).
- Form a slightly flattened rectangle and let it rest on a floured table with the fold closed facing downwards, all covered with plastic wrap so that it does not make the crust and with a cloth to keep it warm.
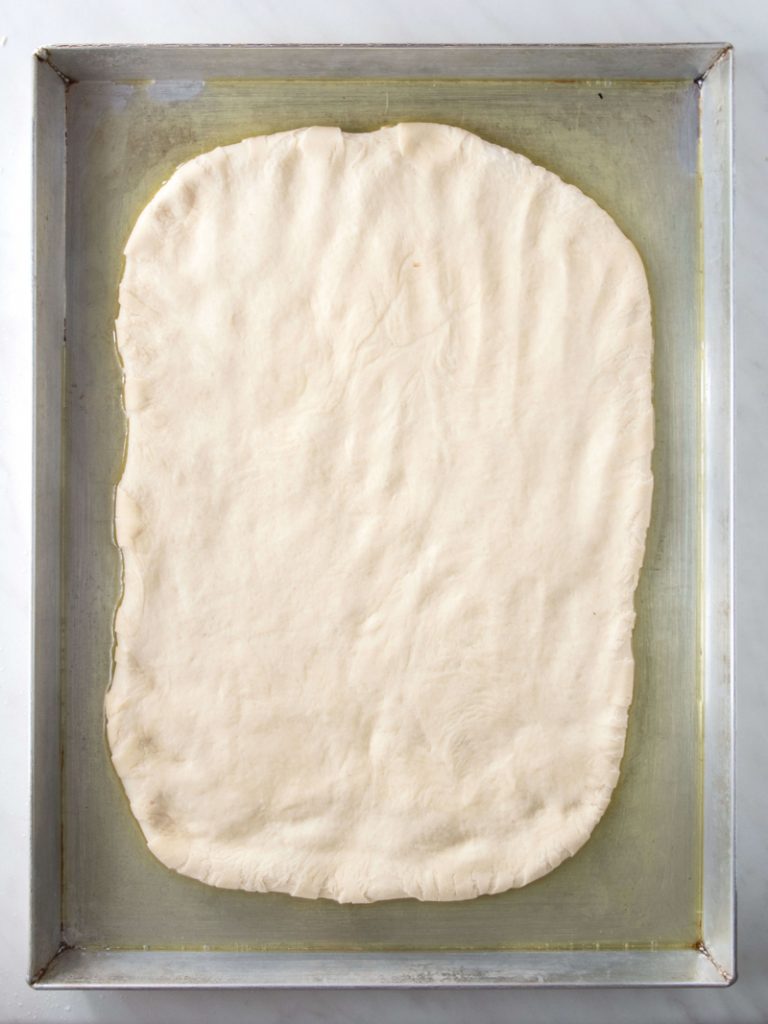
- Let it rest for 30 minutes. Then grease the pan with half of the of olive oil (all ¼ cup if you are using only one sheet pan), stretch the dough on a well-floured wording surface with a rolling pin taking care to keep the same shape as the pan but slightly smaller and then transfer it to the pan (it must cover a surface of about 70%)
- Let it rest for 30 minutes always covered with plastic wrap. Then stretch the dough until you cover the entire space of the pan, leaving no free edges and taking care to eliminate any air bubbles below the surface.
- Let it rise again for 60 minutes always covered by a transparent film.
- Make the brine mixing the salt in lukewarm water.
- Once the leavening is over, sprinkle with flour and make deep and close indentions in the dough using your fingertips – not the tips – of the fingers (exclude the thumb and little finger and try to keep the palm of the hand as much as possible turned towards the surface).
- Pour half of the olive oil on the surface (all ¼ cup if you are using only one baking sheet) and then half of the brine on each pan. Don’t worry if it seems a lot, it has to fill all the dimples.
- Mix water and oil well with your fingers covering each space on the surface, being careful that the water does not get under the surface through the corners.
- Let rise again for 60 minutes.
- Preheat the oven to 230 °C (450°F) and bake your focaccia for 15-18 minutes. You can bake the two trays at the same time rotating them up to bottom and back to front halfway through cooking time.
- As soon as it is golden (the holes will remain clear) remove the focaccia from the oven, turn it upside down in the pan and brush the bottom and then the crust with extra virgin olive oil.
- Let it cool on a wire rack so that air passes and the focaccia remains crisp.
Here some pictures of the kneading and raising process and in infographic with the timing (as usually I get confused whilst making the recipe :)):




JOIN ME ON MY FOOD JOURNEY
Get my monthly newsletter with fresh recipes, my latest food adventures, upcoming events, and lots more from the sunny Italian Riviera!


